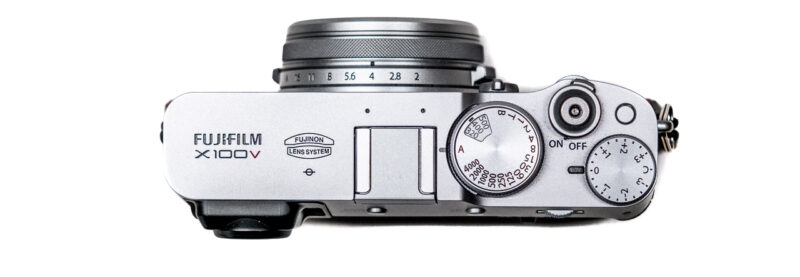
The Fujifilm X100V is a small compact camera. The aperture, shutter speed and ISO are set using dials. However, the camera can also be operated in various automatic programs.
In my first article on the basics of correct exposure, I went into great detail about the dependency of aperture, time and ISO value. It is always these three values that decide whether a photo is correctly exposed or not. With a little practice and routine, you can very quickly keep these three variables in view and, above all, under control. Thanks to the image preview of modern cameras, it is also easy to check the exposure after taking the photo and correct it if necessary.
Whenever possible, you should work with manual settings, because only then do you have complete control over the image. On the other hand, the lighting conditions and the situation can change quickly, depending on the situation you are working in, in which case it can be useful to get support from the camera.
What automatic settings are available on a camera?
Most cameras offer four basic automatic programs:
M – Manual
A – Automatic timer
S – Aperture priority
P – Program automatic
M – Manual
If the camera is set to manual, you as the photographer determine both the aperture and the time. In this mode, it is therefore entirely up to you whether the exposure is balanced. Beginners often feel overwhelmed with this setting, but as already mentioned, it offers the greatest creative freedom.
Personally, I always use this setting when I have controlled lighting conditions, e.g. in the studio, but also when I can take my time with the image composition, e.g. for landscape shots or at night for long exposures. If you are shooting in manual mode, you should also check whether the ISO value is set to a fixed value or whether you have switched on automatic ISO. If automatic ISO is active, the camera will still try to adjust the exposure, but only via the ISO setting. This would be particularly noticeable if you are trying to deliberately overexpose or underexpose a subject.
A – Automatic timer
With aperture priority, you set the aperture(aperture priority) and the camera takes care of the time. This setting is always useful if you want to retain control over the depth of field. Personally, I like this setting best and I usually select it. I take a lot of photos at events. There, overview shots often alternate with shots of people. If I want to show a group or take an overview shot, I usually choose a larger f-number to achieve a greater depth of field. However, if I want to crop a person or situation, I open up the aperture and select a low f-number to blur the background.
S – Aperture priority
There are situations where things have to happen quickly, where every fraction of a second counts. At sporting events, but also in street photography, it’s all about capturing a single moment. So when things get hectic and you still need to produce sharp images, aperture priority is just right. With this setting, you select the time(time preset) and the camera sets the appropriate aperture. Many sports photographers use this setting. Of course, you may also want to deliberately select a slower shutter speed, which is of course also possible and allows moving subjects to be captured out of focus.
P – Program automatic
If you don’t want to worry about time, aperture and ISO value, you can leave the “thinking” completely to the camera and concentrate purely on the subject. There are also plenty of motif programs, for example for portraits or sports photography, which can be a good help to get started in photography, but sooner or later every photographer should gain control over their motif and decide for themselves which creative tools they want to use.